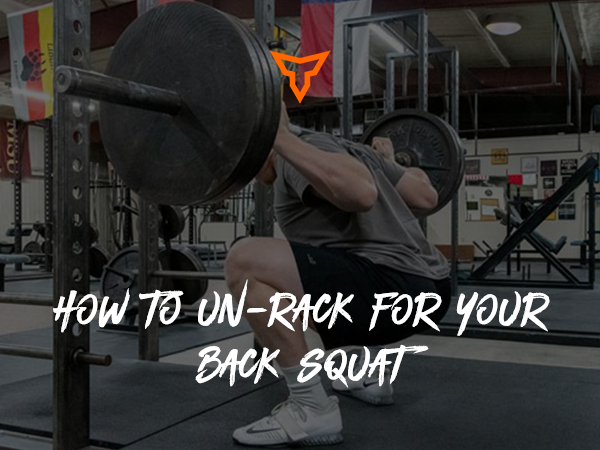
When programming squats for my athletes, my philosophy leads me to box squat 99% of the time as opposed to "free squatting."
This article will expand on my reasoning and philosophy on why our program chooses to prioritize a properly coached box squat as opposed to other variations of loaded squats. Here are is a summary of our reasoning:
- The small learning curve
- More stress in the glutes and hamstrings and NOT the knees
- Improved first step acceleration
- Improved aglity or change of direction abilities because of the lateral force production generated
- Improved hip mobility through strength
These all sound great, right? The problem is, if you are not doing the movement correctly, you won’t reap all the box squat benefits. Below we are going to go over some of the cues that will help your athletes get all of the benefits out of the box squat in order to get the best "bang for our buck."
Foot Positioning
When setting up your feet need to be wide enough to generate force laterally. This will most likely be a little uncomfortable for the athletes at first. To correct this, simply watch the athlete squat from the front. You should be able to see some pressure coming out the sides of their shoes (like their foot is going to push out the side of their shoe).
Get the Box Squat Height Right!
To get the most out of your box squat, it’s important to have your box height set so that the athlete squats very close to parallel. In order to find this:
- The athlete will stand over the box with the proper width stance
- Sit on the box while keeping their shins perpendicular to the floor
- Adjust the box height so the top of the thigh is parallel with the floor
- Knee angle has nothing to do with box height
The Cues
Cues should be 1-3 words. Keep them simple so the athlete can follow. We have the explanations below for your understanding and not for word-for-word recitation while someone is squatting.
- Chin Up — Slightly up before unracking will put them in a better position.
- Fill Your Stomach — This must happen before the descent.
- Stand Up Strong – stand up with some intent. Don’t bounce the bar off your back but get your body and mind locked in.
- Set Your Feet — They need to let the weight settle before squatting.
- Back and Open — Most people won’t do this all the way to the box. The result is the plop and loss of tension on glutes and hamstrings.
- Stomach Out, Knees Out — If an athlete is losing their arch this usually helps.
- Open and Lean — The athlete has to lean into the squat a little. Very often they’ll try to keep their torso completely vertical. If they continue to struggle with this or rock backward on the box when they sit, take the bar off their back, have them sit on the box as if they’re squatting and hold a proper position (pressure out on feet, leaning forward, knees forced out, chin up). Many times they just don’t understand the proper position, so sitting there and holding it for a few seconds really helps with the above problem.
- Shoulders in the Bar — Again, this top priority on the ascent. This keeps the athlete upright and muscles functioning properly.
Remember to cue the athlete through all reps until they get it.
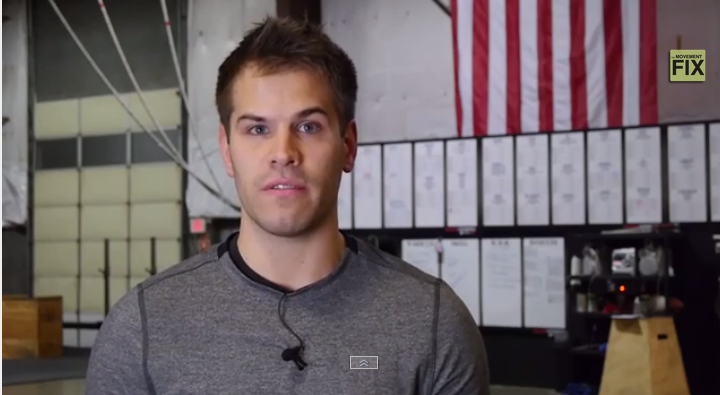
These cues will take care of most of the issues you’ll see when teaching your athletes to squat, you just have to hold them accountable and make sure they’re doing it right. The video below will go into more detail and show some of the mistakes your athletes might make while learning the box squat and how to fix them.
Give these a try and your athletes will have less knee pain, more mobile hips and better performance. The key, just like any other movement in the weight room, is to make sure they know how to box squat properly.
Subscribe to our blog
Subscribe to receive the latest blog posts to your inbox every week.
Related posts

The Common Mistake Killing Your Squat Before You Even Squat

The Best Kept Secret: Why People Have to Squat Differently

